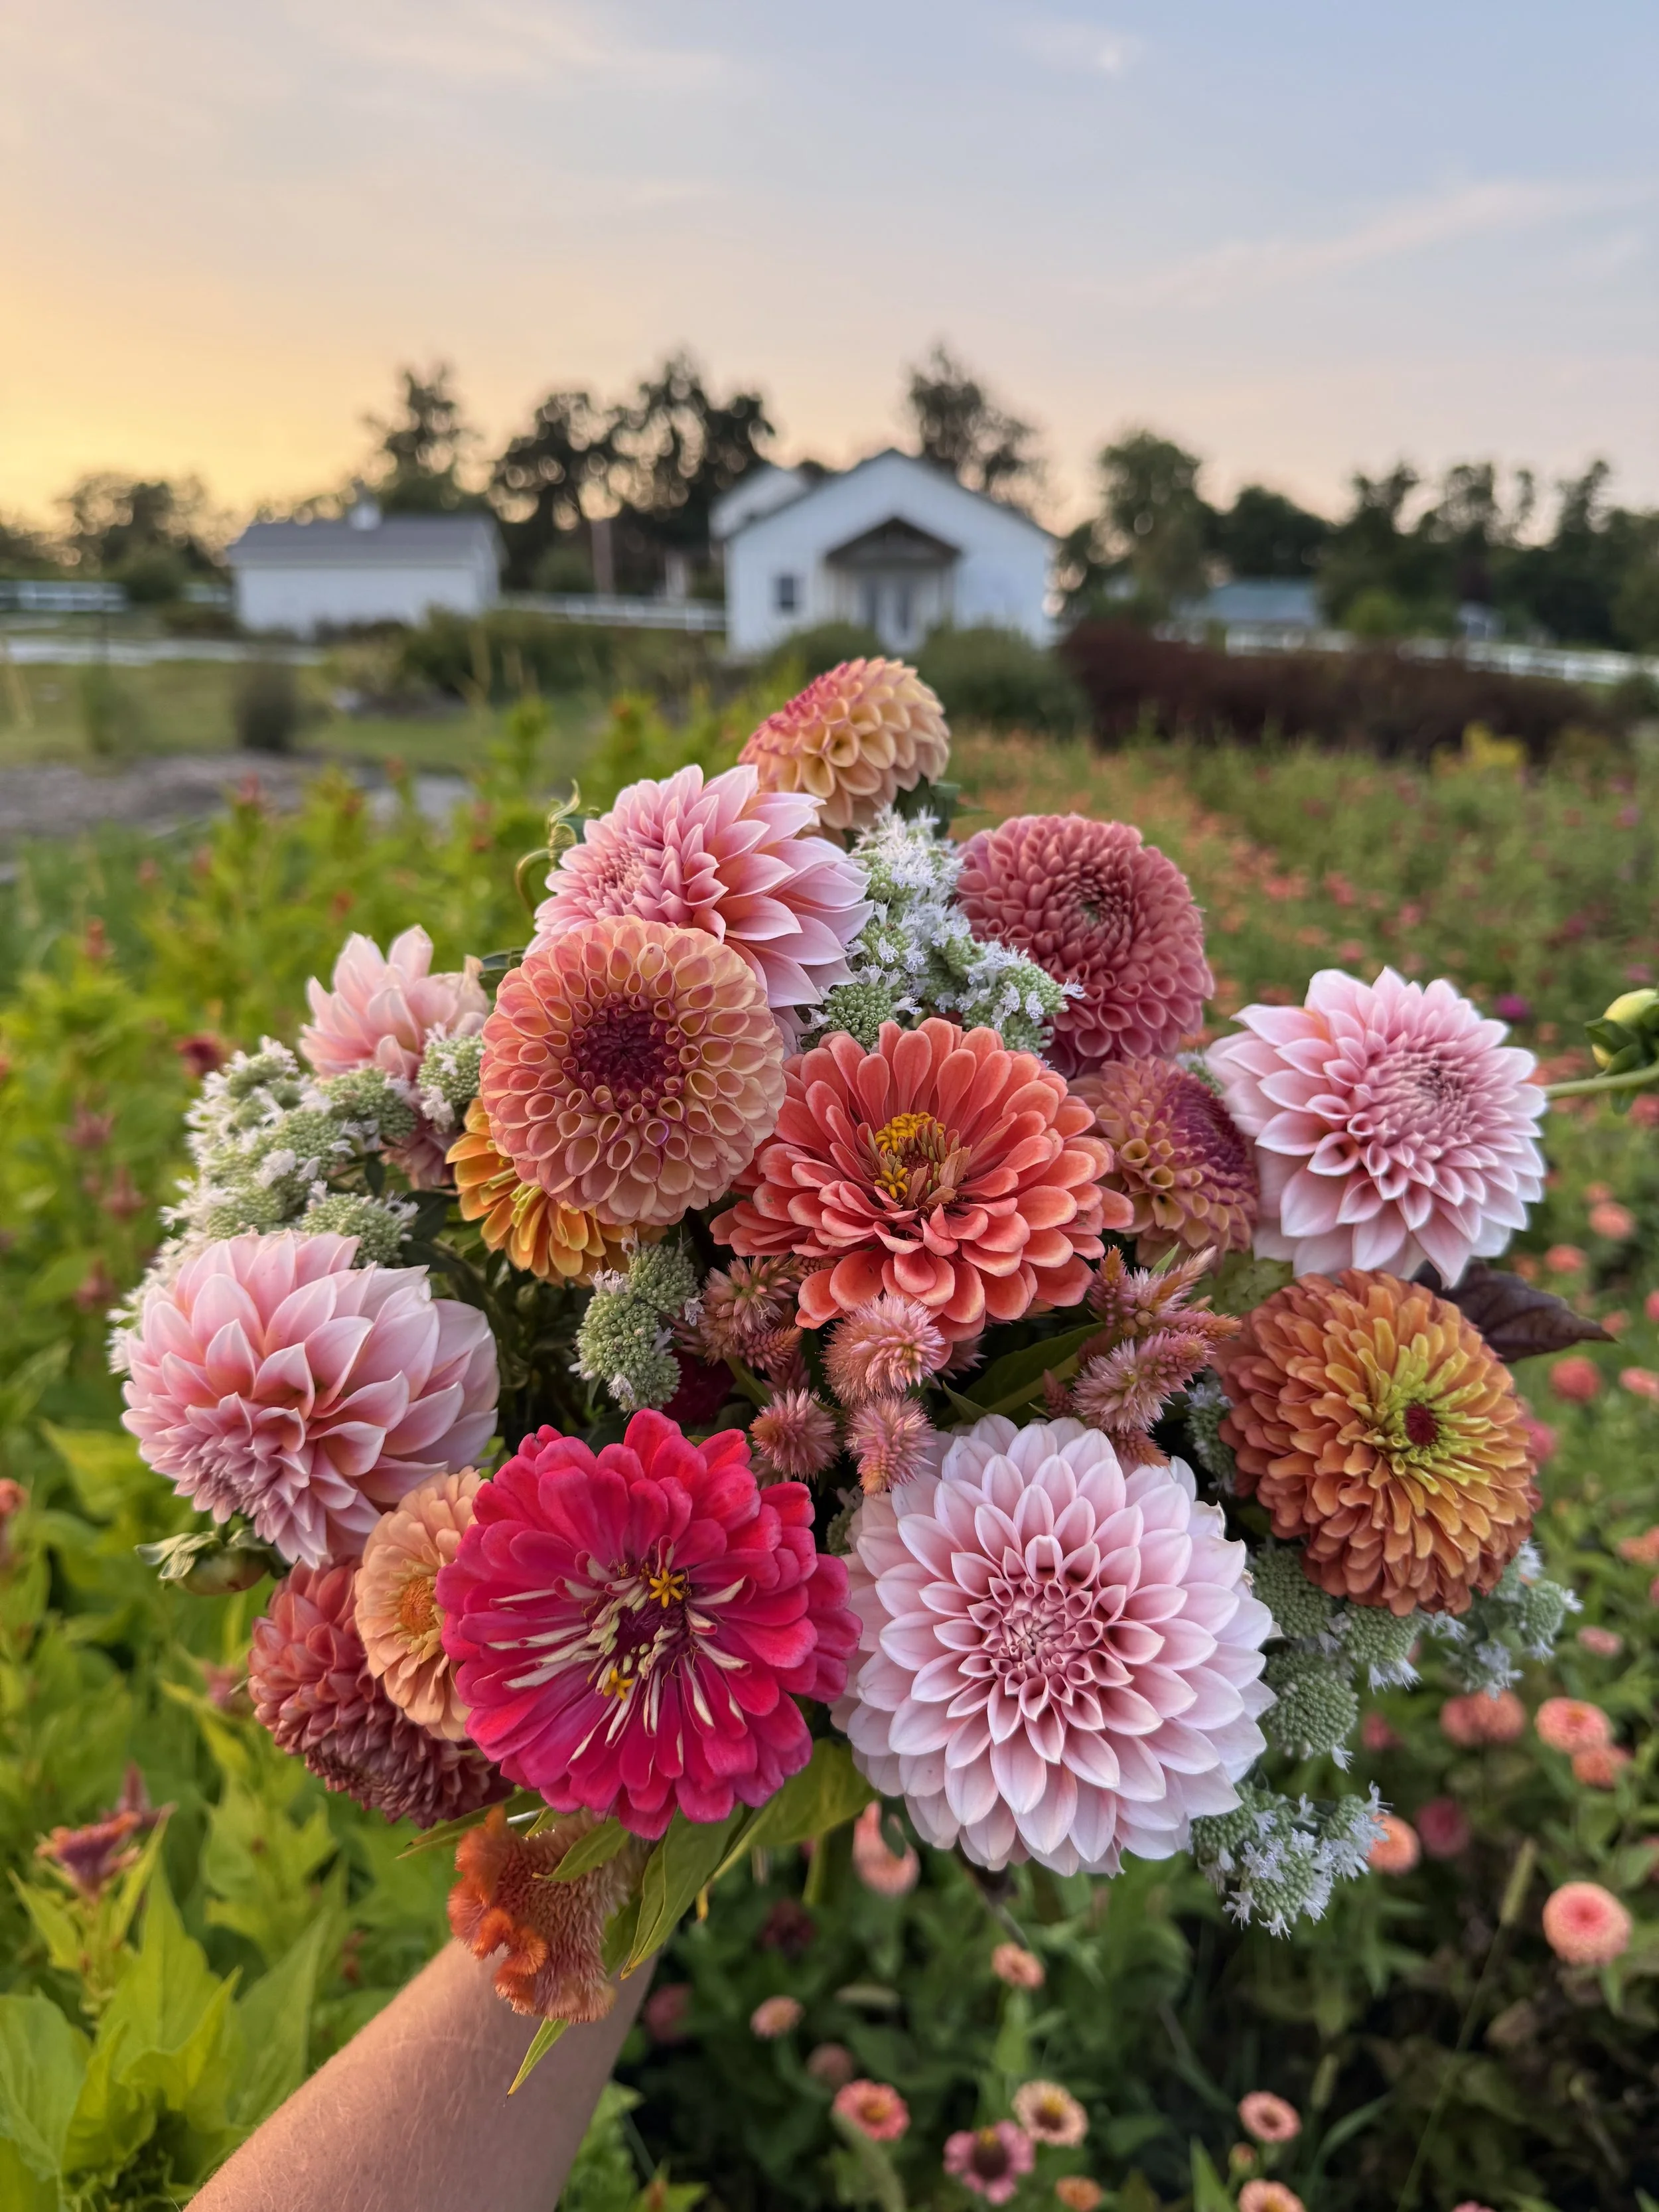
How to Build a Stunning Bouquet
Whether you’re crafting a bouquet for a loved one, experimenting with your creativity, or just want to add a pop of color and beauty to your space, making a floral arrangement is a rewarding and relatively simple process. At PepperHarrow Farm, we make everything from farmers market bouquets and mason jar bouquets to stunning bridal bouquets. No matter what kind of arrangement you’re making, here’s our simple recipe for how to build something magical.
Step 1 - Gather Your Tools and Materials
Every great project starts with a little prep. Here’s a short list of everything you’ll need to make your bouquet:
A vase, glass jar, or just plain kraft paper. We like to make our bouquets a little differently depending on the kind, so choose what suits your style and vision best.
Fresh flowers (at least 3-4 different kinds)
Greenery (some variety is helpful)
Ribbon for decoration

Step 2: Start with Greenery
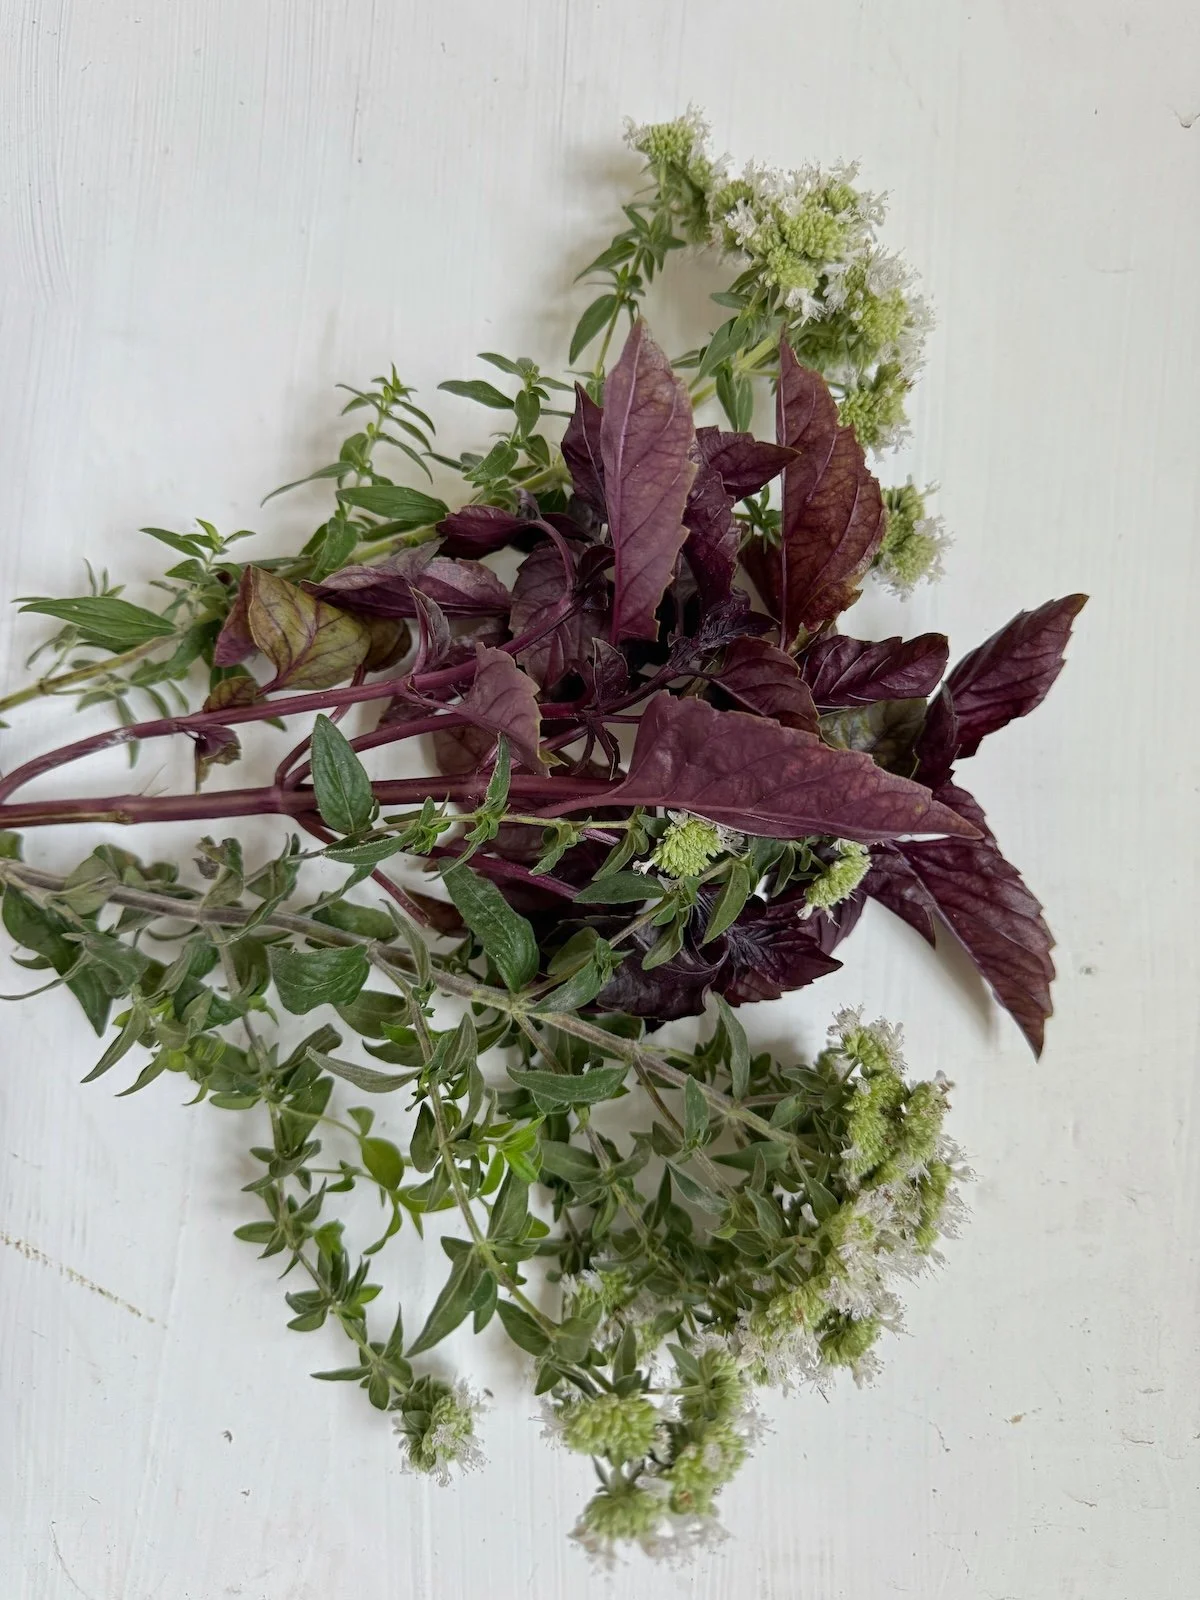
Start by adding around 3 pieces of greenery to your jar or vase. These pieces will give your bouquet structure, as well as shape and volume, and you can use them to build around. When choosing greenery pieces for a bouquet, a few great options include mint, basil, eucalyptus, or mountain mint, as we show here.
Step 3 - Choose a Color Palette
If you’re stuck on where to start, or if you have a ton of flower variety, you can simplify your choices by deciding on a color palette. While certainly not necessary, a color palette does help bring a cohesive look to any bouquet. Decide on a palette that suits the occasion or your personal taste but try to stick to 2-4 colors.
Step 4: Add Focal Flowers
These flowers will be the star of your bouquet and give you a point of reference to build the rest of your bouquet around. Choose 3-5 eye catching and typically larger, circular flowers like roses, peonies, sunflowers, zinnias, or dahlias.

Step 5: Add Filler Flowers
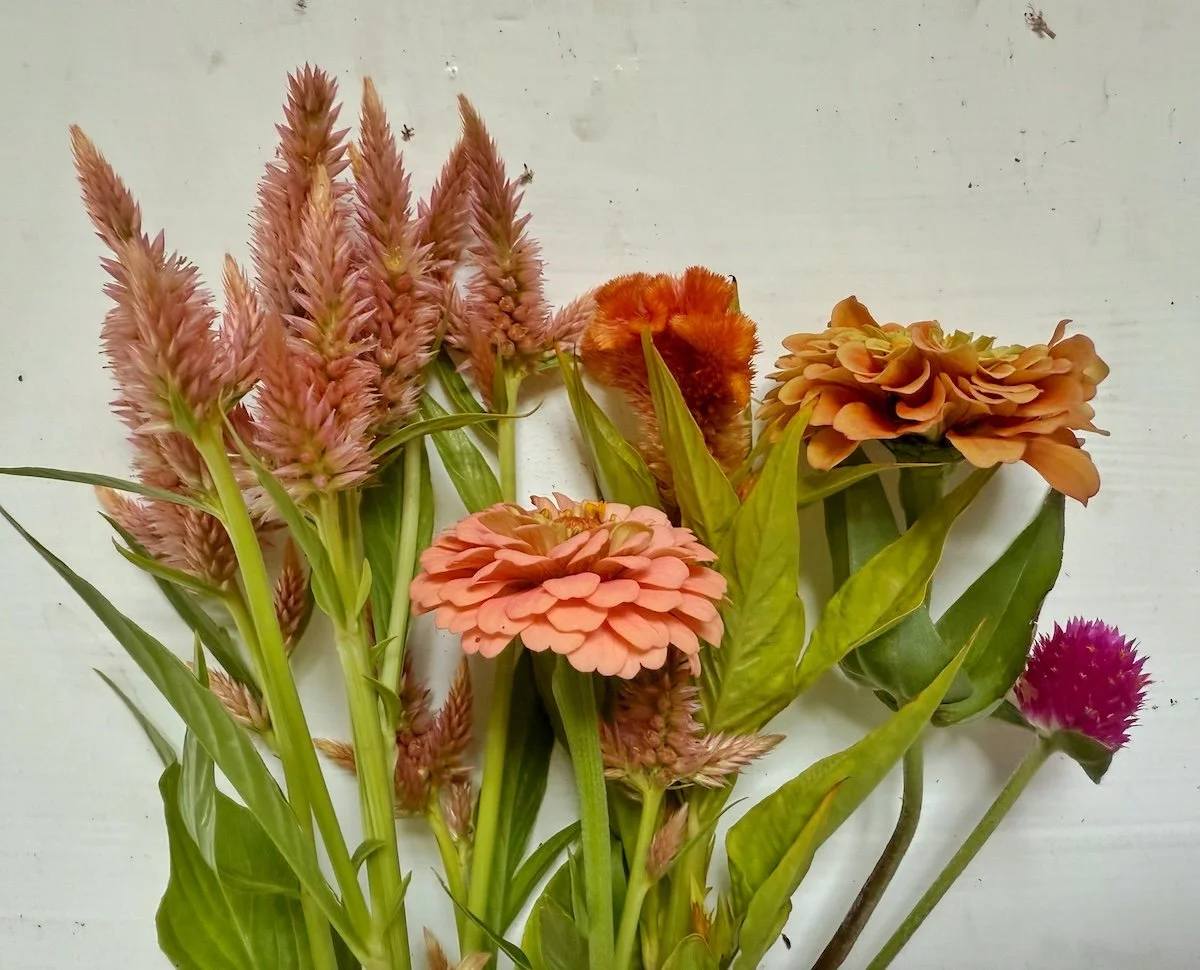
There’s no magic number of flowers to use here, just start filling out the rest of your bouquet with pieces that support and compliment your focal blooms. These should vary in size and texture but harmonize in color and mood. We love to use conical shapes like celosia and snapdragon as one textural piece, but other great options include statice, stock, carnations, ageratum, salvia, or smaller zinnias and gomphrena, as we show here.
Step 6: Add a Couple Sparkles
No bouquet is complete without a couple of sparkles (or what Adam likes to call dinkles lol). These are light, airy bits that add a final bit of texture. You only need a couple to catch the eye, but they really bring everything together. Try using flowers like giant swamp milkweed, ammi, baby’s breath, queen anne’s lace, or our favorite, cosmos!

Final Thoughts, Tips + Tricks for Bouquet Making
Cut your stems at an angle to allow for better water absorption.
Make sure to check your water 24 hours after making your bouquet. Flowers drink deeply the first several hours after being cut.
If you’re making a bouquet without a jar or vase, wrap the stems tightly with a rubber band, tape, or finish with a bow depending on your design.
If placing your arrangement in a vase, trim stem heights to suit the container, roughly 1.5 times the height of the vase or jar you’re using, and remove any leaves below the waterline to prevent rot and to extend the vase life of your flowers.
Creating a stunning bouquet is all about layering and getting creative from one step to the next. If you want more pointers, check out our online classes like How To Make A Wrapped Jar Arrangement or Centerpiece Design and let us know what kinds of bouquets you create! Happy bouquet making!
XX Jenn and Adam