
Last Harvest of the Season
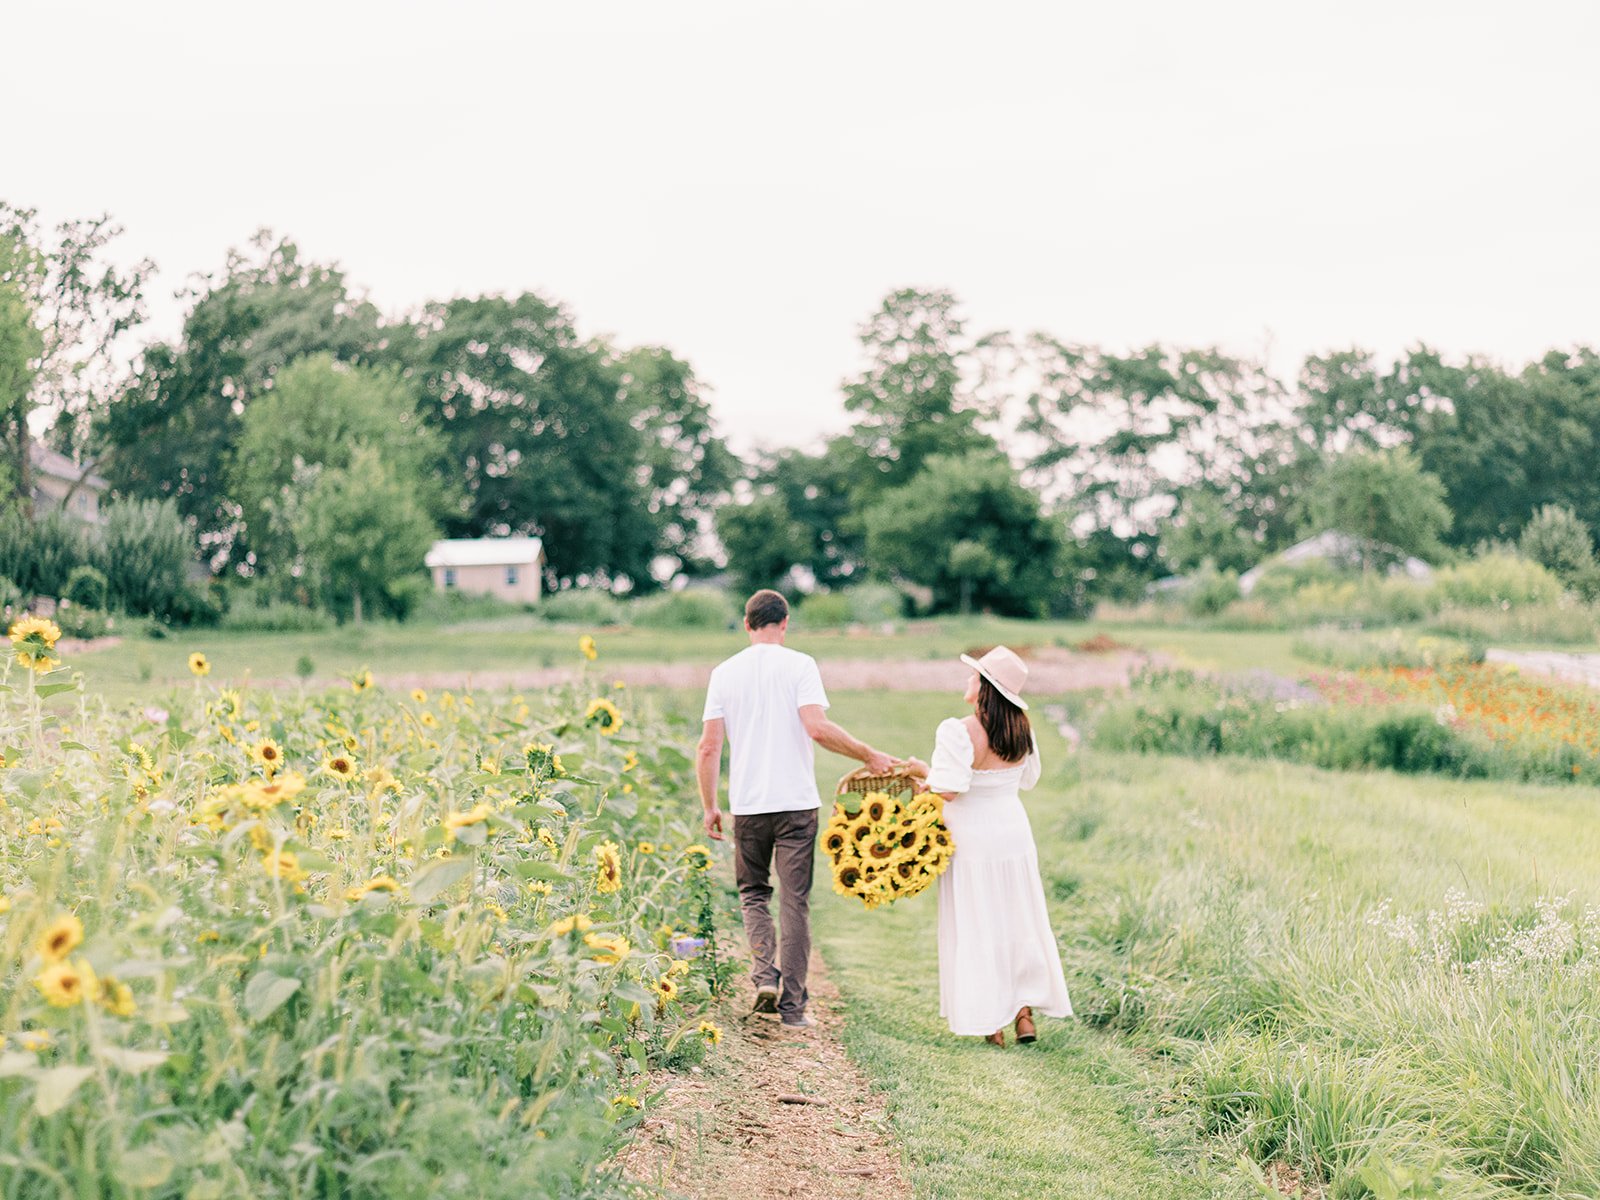
On a perfect fall day, surrounded by the warm hues of autumn, we gather to celebrate the final harvest of the season. Dahlias, with their vibrant colors and intricate petals, take center stage alongside flame-like celosia. As we embrace the changing leaves and crisp air, this last harvest becomes a celebration of nature's artistry. It's a reminder to slow down, appreciate the season, and find joy in transforming these blooms into beautiful creations. Join us in savoring the magic of autumn and the creative spirit it inspires
As the warm embrace of summer gives way to the crisp, golden hues of autumn, there's something undeniably magical about the transition. It's a time when nature sheds its vibrant greens for a more subdued palette of reds, oranges, and yellows, and the world seems to transform before our very eyes. It's also the perfect season for one of our favorite traditions: the last harvest of the year. On this particular autumn day, we gather to celebrate the final bounty of the season, including dahlias, celosia, and several varieties of other dry-able flowers, which will be hung up in the barn to dry for our upcoming wreath-making classes.

A Perfect Fall Day
The scene is set on a perfect fall day – the sun casts a warm, golden glow over the landscape, and the leaves are changing, painting a breathtaking picture of nature's artwork. The air carries a distinct crispness that only autumn can provide, and there's a gentle breeze rustling the leaves. It's a day when time seems to slow down, allowing us to fully immerse ourselves in the beauty of the season.

The Last Harvest
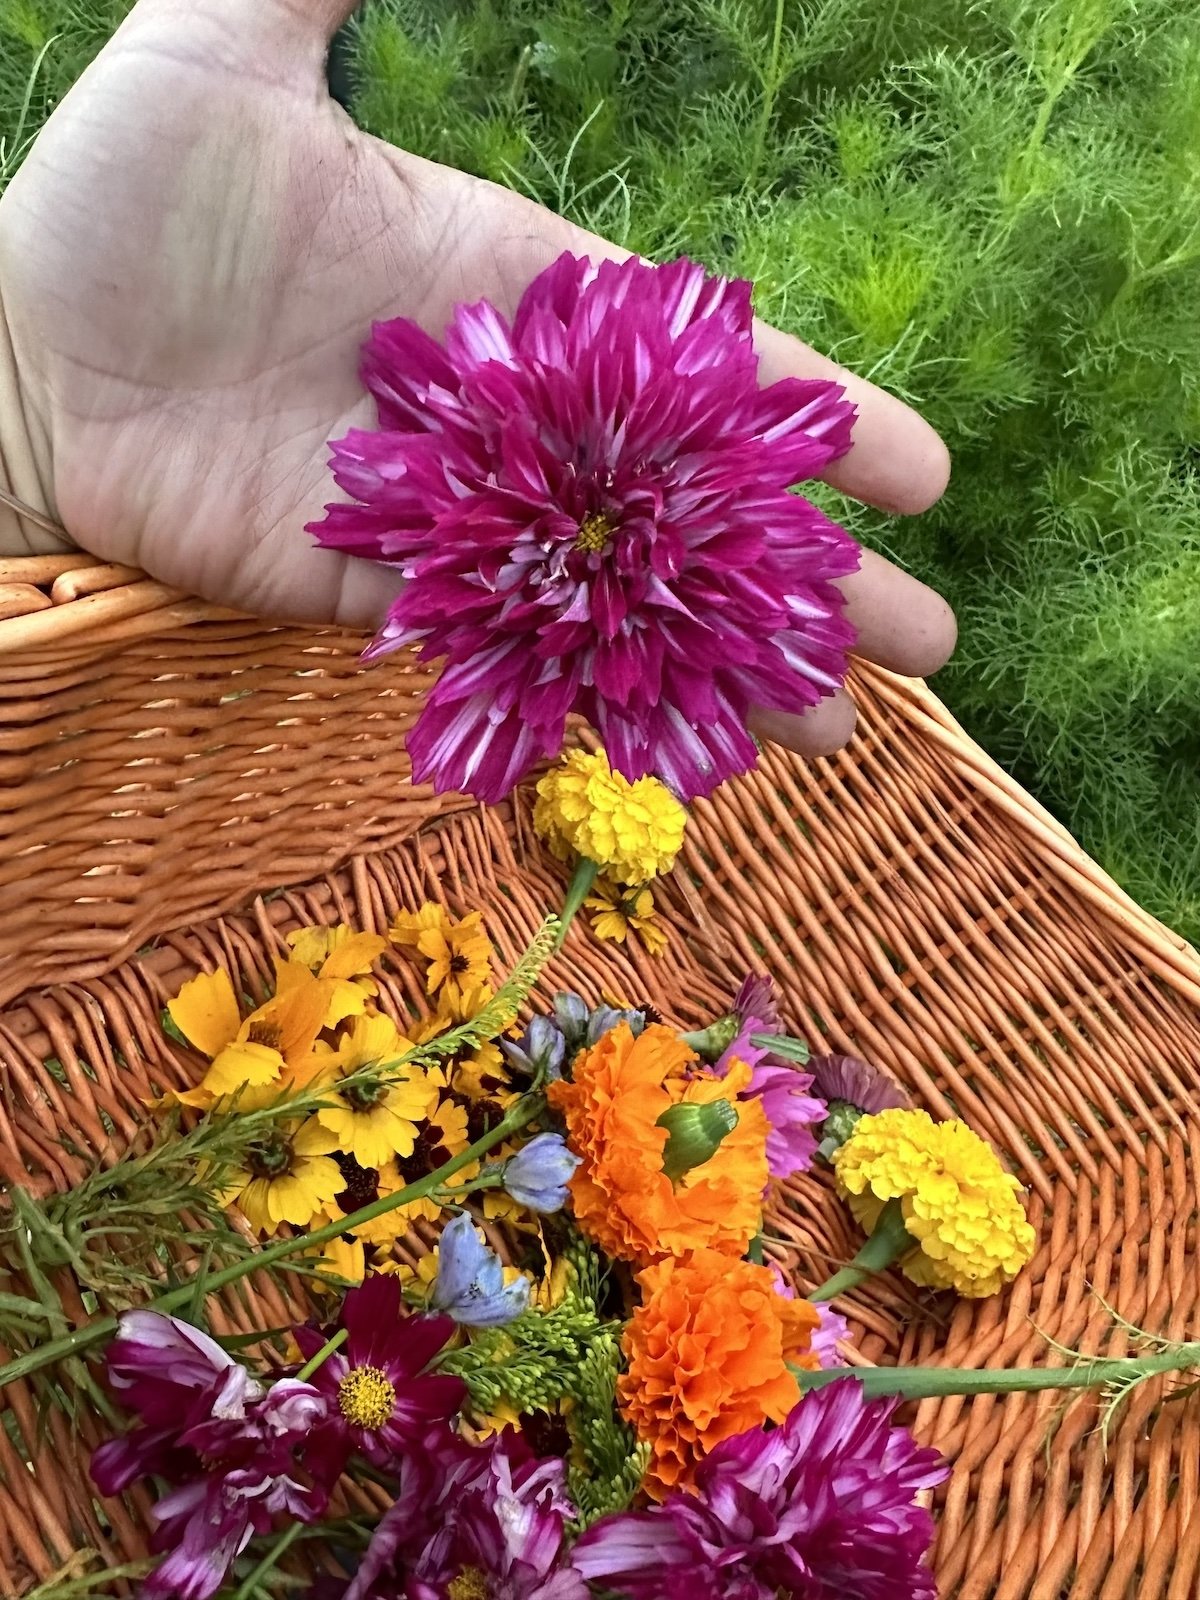
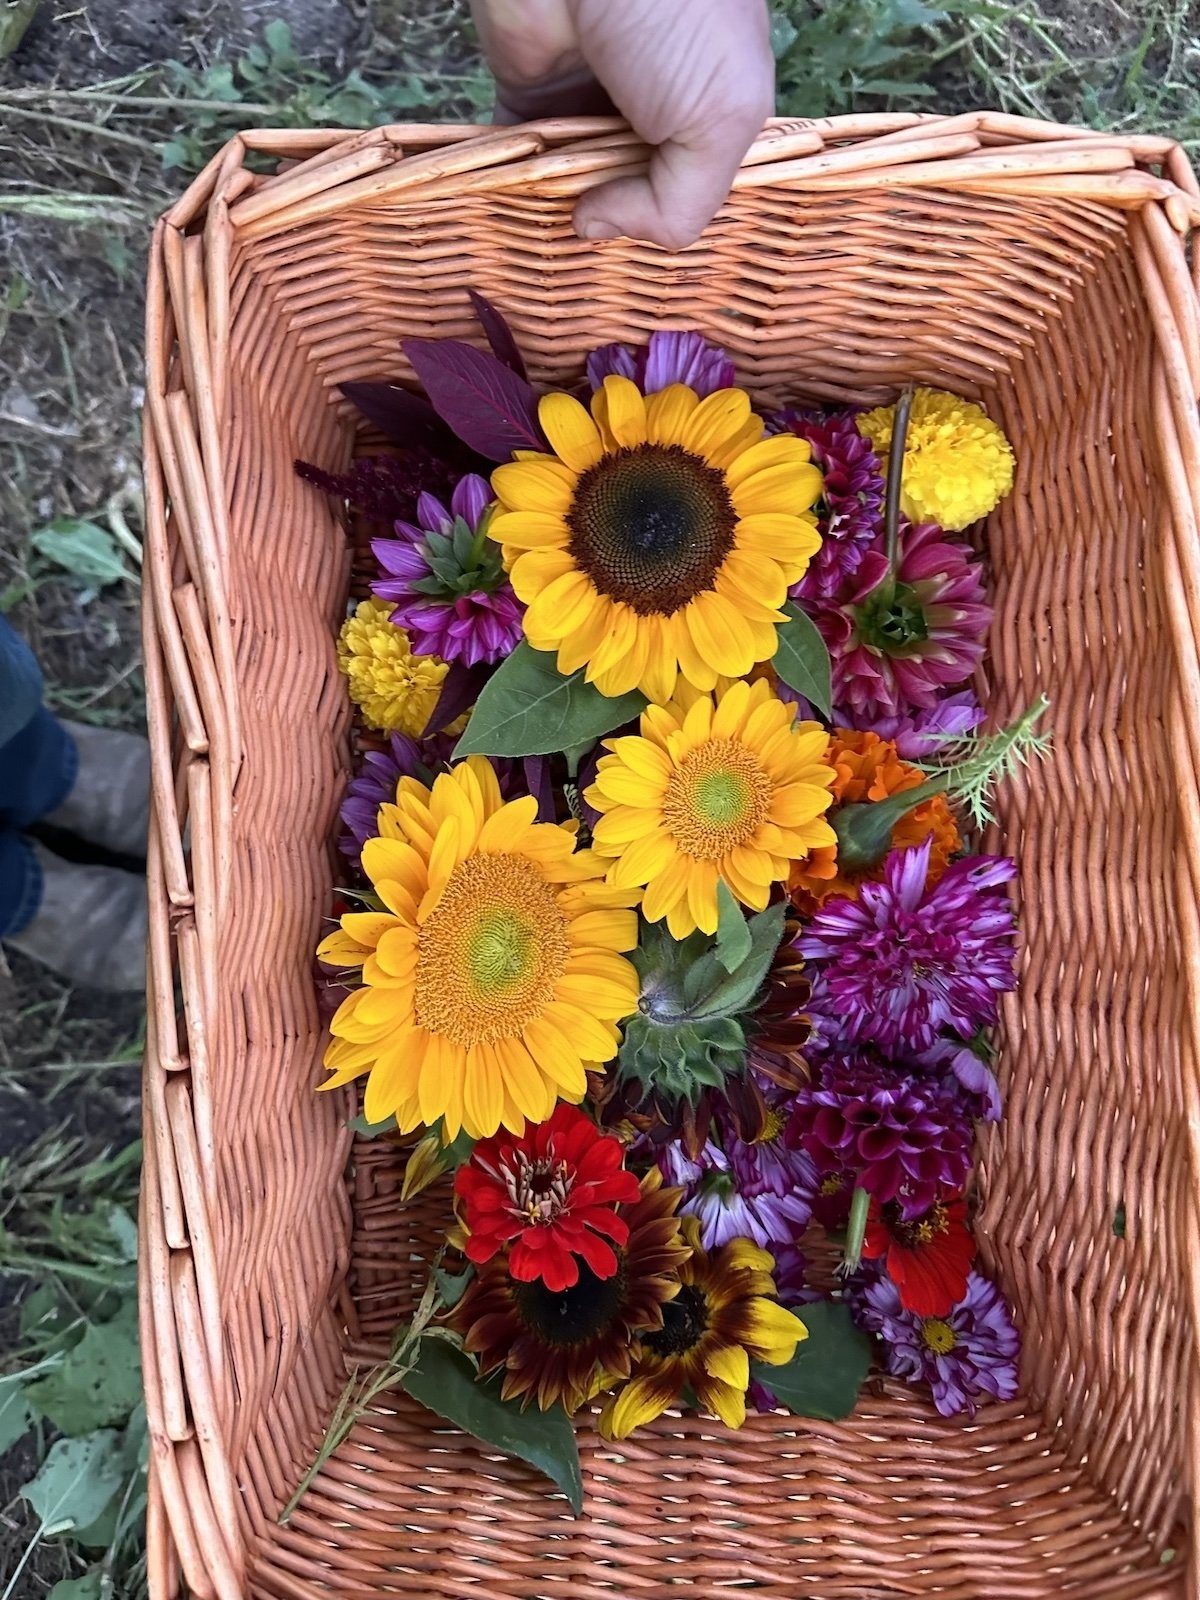
In the fields that stretch before us, the last of the summer blooms are mingling with the vibrant colors of autumn. Dahlias, with their intricate petals and vivid hues, are among the stars of the show. They come in a variety of shapes and sizes, from the classic round forms to the spiky, cactus-like varieties. With hues ranging from deep burgundy to golden yellow, they are a true testament to nature's artistry. Shown below are several of our varieties, with the main ones being dahlia, Chewy.
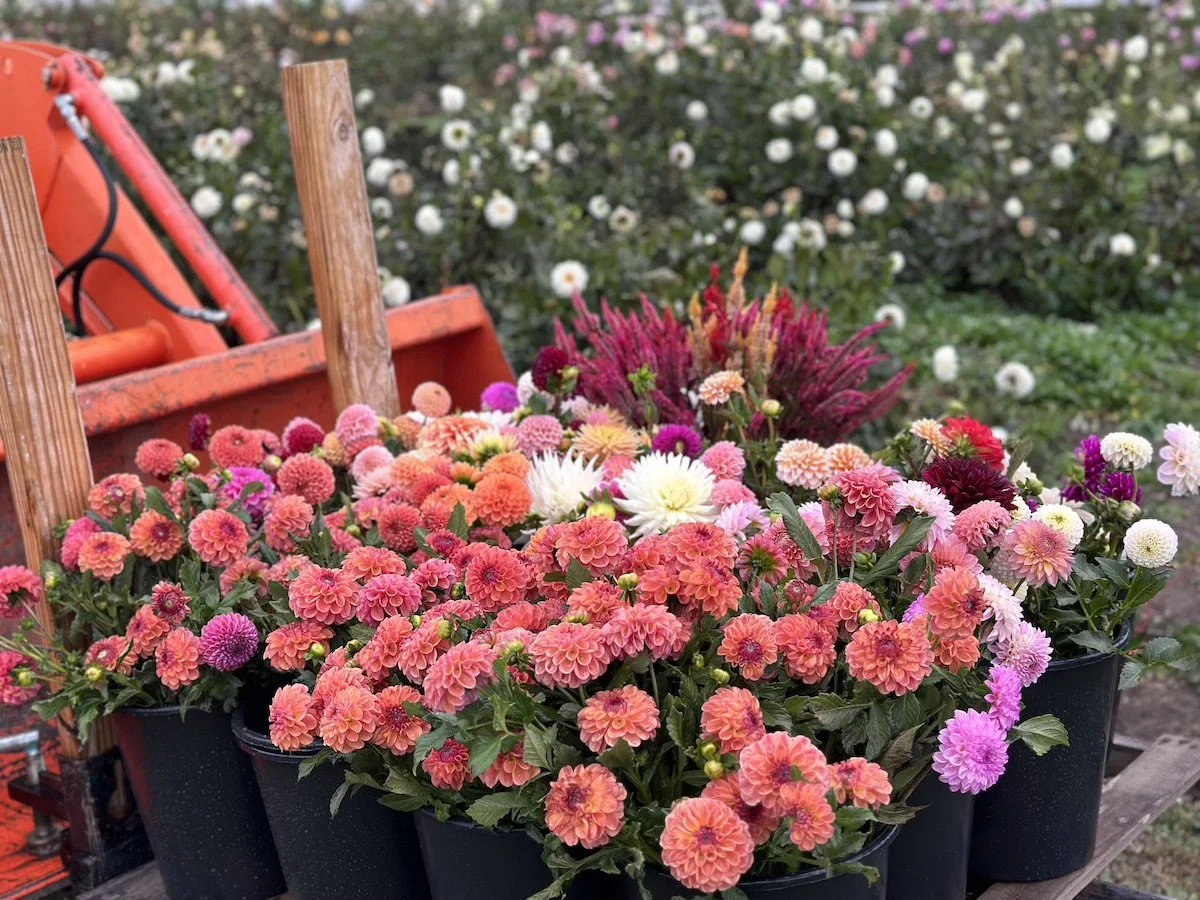
Celosia, with its distinctive flame-like appearance, adds a unique touch to the harvest. These plumes of red, orange, and yellow resemble the flickering flames of a bonfire, making them an ideal addition to our fall collection.
Celebrating the Season
As we gather for this last harvest, we're not just collecting flowers; we're celebrating the season. We're savoring the changing leaves, the pumpkin decorations, and the unmistakable atmosphere of fall. We're finding joy in the act of creating and in the company of friends and fellow nature enthusiasts.
In a world that often rushes by, it's moments like these that remind us of the beauty in slowing down, connecting with the world around us, and using our creativity to transform nature's bounty into art. It's a reminder that each season has its unique charm, and by embracing it fully, we can find inspiration and fulfillment.
XX Jenn and Adam


Using Flowers to Create Botanical Based Dyes
Explore the enchanting world of flower-based dyes. Discover the magic of marigolds, lavender, coreopsis, cosmos, dahlias, and indigo leaves, each offering a unique color palette for your creations. From selecting the right flowers to unveiling the vibrant hues after the dyeing process, immerse yourself in the art of botanical dyeing and embrace the charm of nature's diverse colors on your fabrics.
The Charms of Botanical Dyeing
Botanical dyeing takes us back to simpler times, using the colors nature provides. It's like a plant-based paint palette that can turn ordinary tea towels into works of art. By using flowers, we can create a rainbow of shades that are both unique and eco-friendly.
Picking the Right Flowers
One of the exciting parts of botanical dyeing is selecting the flowers to work with. Different flowers yield different colors, offering a playful twist to the process.
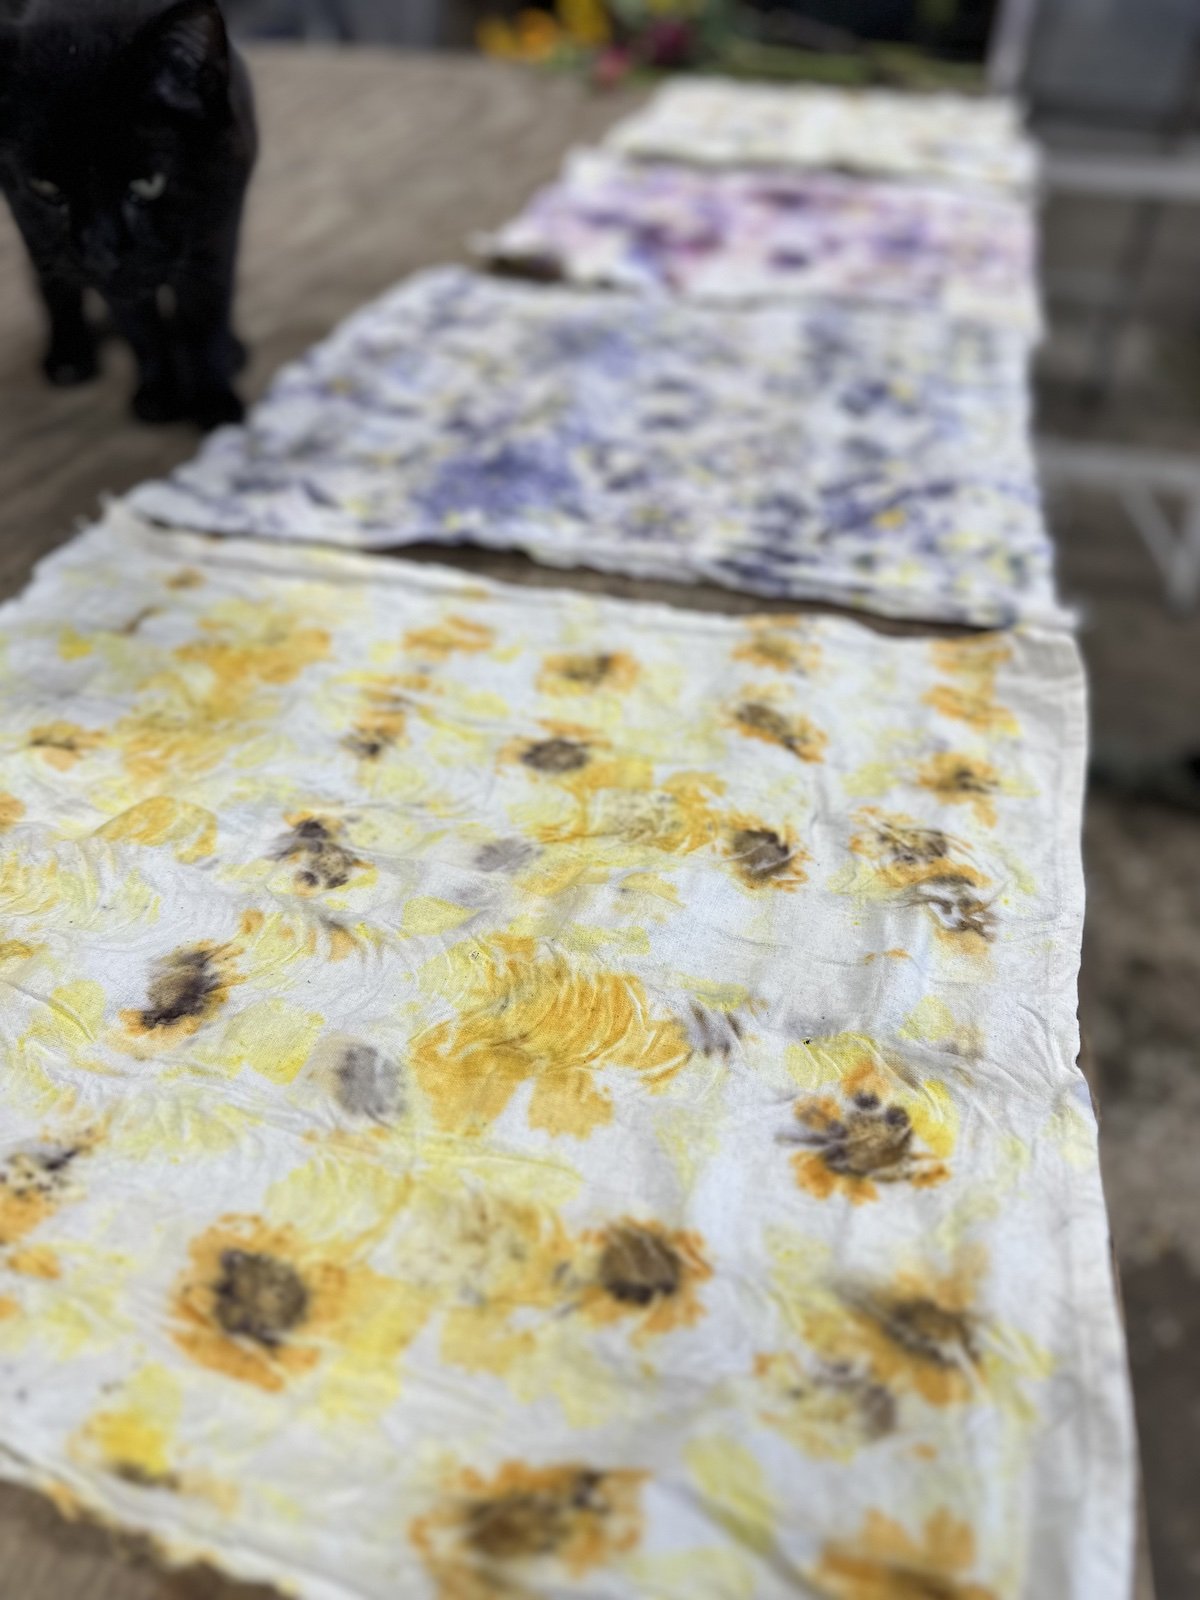
Marigold: These sunny blooms create warm yellows and oranges, reminiscent of a golden sunrise.
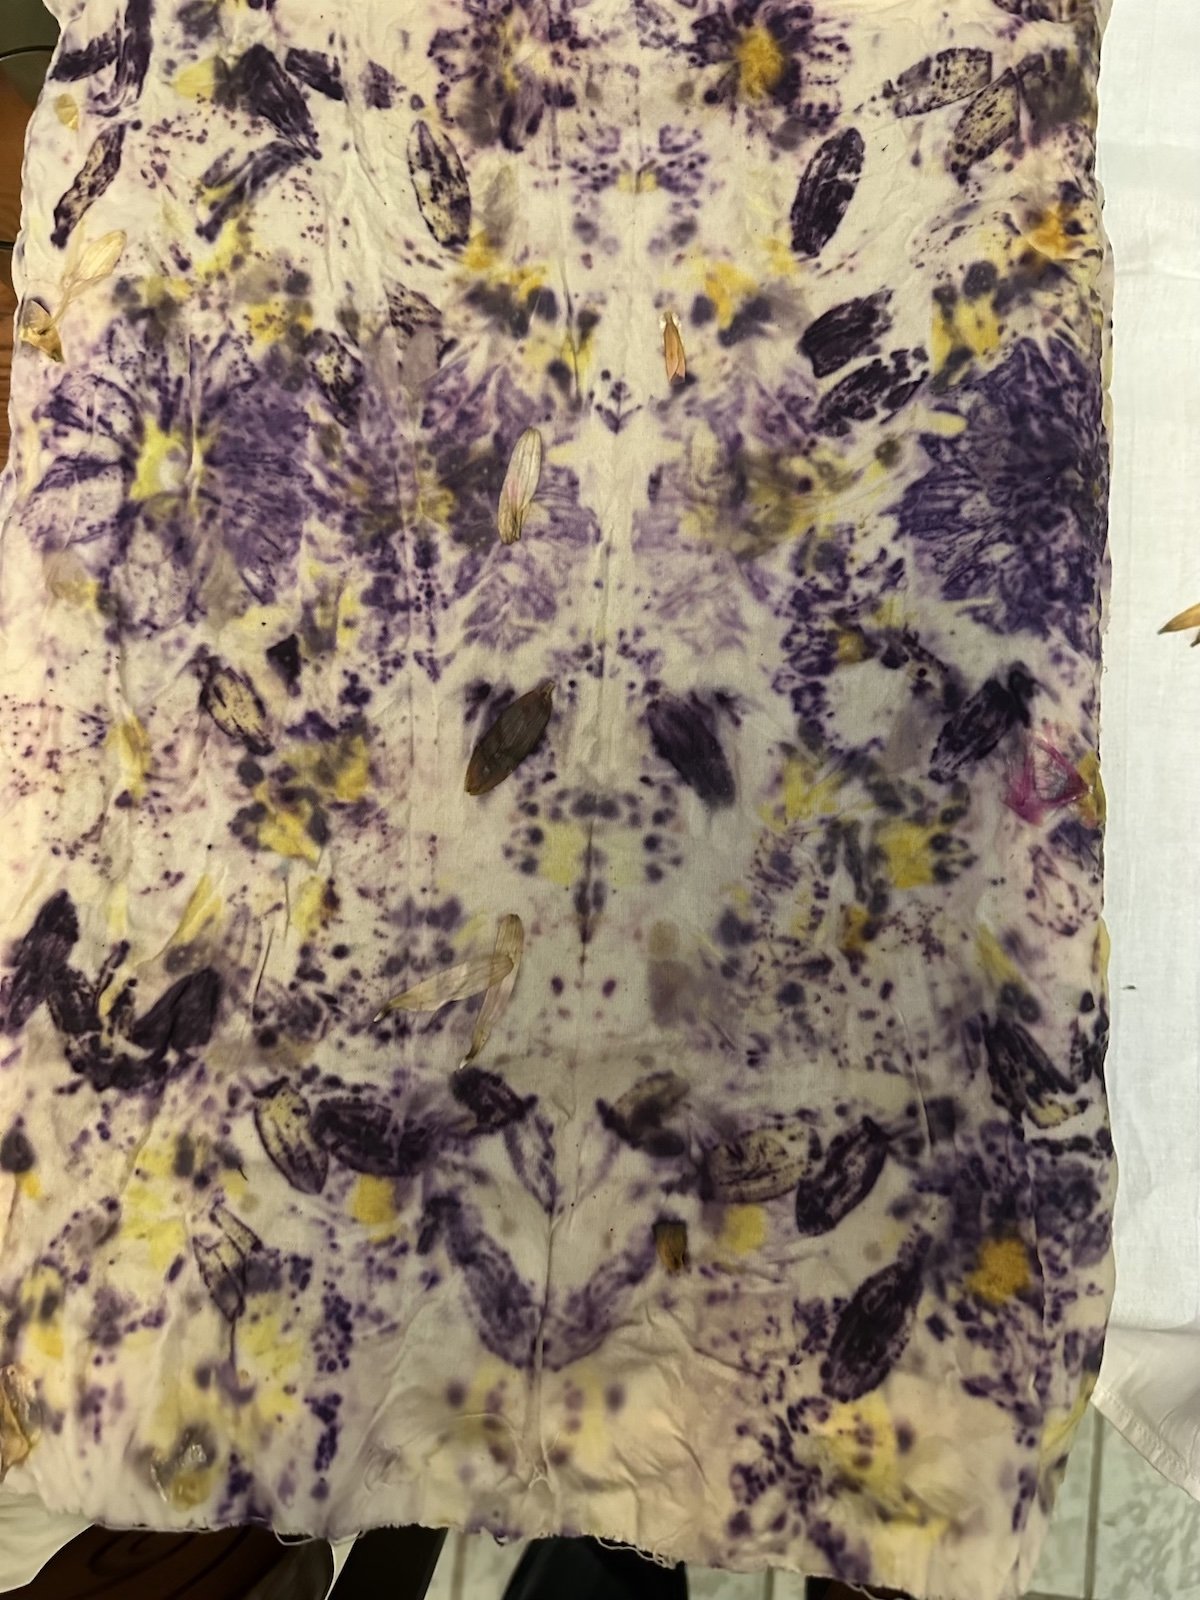
Lavender: If calming pastels are your preference, lavender flowers are perfect for gentle purples and grays.
Coreopsis: With their vibrant petals, coreopsis flowers bring about shades of cheerful yellows and deep oranges.
Cosmos: Bright Lights or Sulphur cosmos as the best for dyeing, but we’ve found that we love the colors created by some of the darker cosmos. They make a lovely purple or blue color.
Dahlias: Provide a variation of shades, but the darker colors make the prettiest colors.
Indigo: For rich blues, indigo leaves hold the secret, providing a touch of deep ocean hues.

The Color Journey
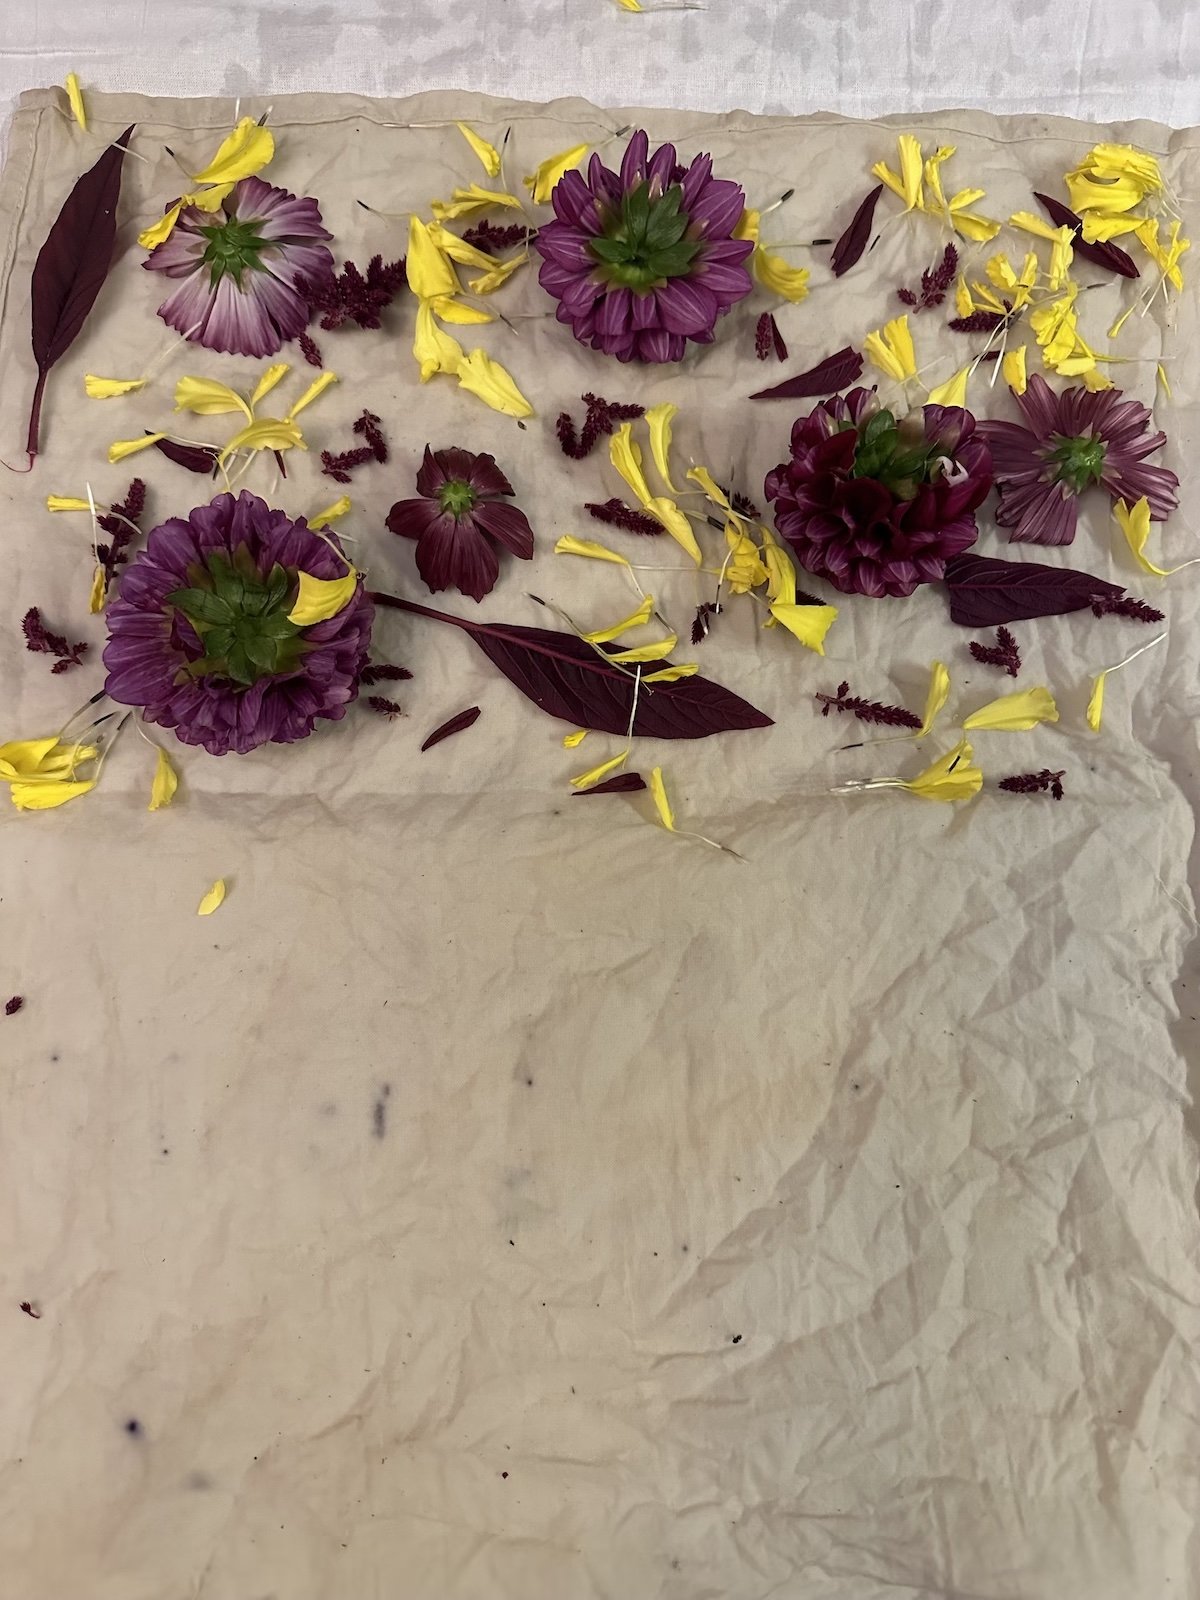
Before diving into the dyeing process, the fabric needs a bit of prep. This involves cleaning and treating them to make sure they absorb the colors well. Once fabric has been prepped, you leave it damp, but not wet and add your flowers for dyeing. We use the bundle dyeing process for making our prints, which involved scattering flowers on the fabric, rolling the fabric up, then using a steam process to release the dye from the flowers.
After the fabrics have steamed for an hour, remove and open the fabric. The colors from the dye process are immediately visible. Gently remove all flowers from the fabric, then give your fabric a little rinse and hang to dry.

Botanical dyeing isn't just about changing colors; it's about connecting with nature and embracing its diversity. Each fabric created with botanical dye carries a piece of the flower farm's charm, telling a story of petals, leaves, and the colors they gift us. So, next time you use one of these tea towels, remember the journey it has taken – from the flower farm to your kitchen, with a touch of nature's magic in between.
XX Jenn and Adam

Creating a Gorgeous Raised Bed Garden
Explore the simplicity and beauty of raised bed gardens with our guide. Perfect for any gardener, these beds offer controlled environments and easy maintenance. Learn the benefits, design tips, and step-by-step instructions to create your flourishing garden. Elevate your outdoor space with joy and ease. Happy growing!
If you're looking to add a touch of beauty and functionality to your outdoor space, raised beds could be the perfect solution. Whether you're limited on space or just starting out on your flower-growing journey, raised beds offer a fantastic way to cultivate a thriving garden right at your doorstep. At PepperHarrow, we've embraced raised beds as a key part of our dahlia breeding efforts, and as an integral space for relaxing and entertaining. Today, we're going to guide you through the process of creating your very own raised bed garden.
Why Raised Beds? Raised beds offer a range of benefits and hey, let’s not overlook their beauty, making them an excellent choice for both beginners and seasoned gardeners. They're particularly useful when your soil isn't ideal for flower growth, providing you with a controlled and enriched growing environment. Additionally, these beds are easier to maintain compared to open-field plantings. Weeding and tending to your plants become less of a chore, and watering is more convenient since raised beds are often closer to water sources. Keep in mind that raised beds require more frequent watering than plants in the ground.

Designing Your Garden
Before you roll up your sleeves to get to work, take the time to draw out and design your raised bed garden. Sketch out a plan on paper to plan out a space that works for you, allocating enough space between each bed to allow for 3-foot-wide paths. Staking out the corners of your garden area with wood and tying strings between the stakes can help you frame the space accurately and ensure its level.
Here are the Materials Required for the Beds We Created for our Eight 4-by-8-foot raised beds in a 30-by-40-foot area, gather the following materials for each raised bed:
(3) 2-x-12-x-8 treated lumber
(1) 4-x-4-x-4-inch treated lumber
(4) 6-x-6-inch steel corner braces
Additional Supplies:
200 feet of 6-foot or wider landscape fabric for weed barrier
100 Landscape pins to secure the fabric
160 3-inch exterior screws
48 2-cubic-foot bags of wood chips
160 1-cubic-foot bags of topsoil
500 pounds of chipped limestone road stone
Drip irrigation or overhead watering apparatus
Optional decorative arches for growing vines
Seeds of your choice!

Step-by-Step Guide for Building a Raised Garden:
Step One: Preparing the Ground
Draw your raised bed plan on paper, considering the layout and spacing.
Stake each corner of your designated area using wood and tie strings between the stakes to outline your space and ensure it's level.
Lay down landscape fabric as a weed barrier.
Step Two: Creating the Base
Spread gravel evenly across the entire area using a landscaping rake.
Prepare the lumber, using 8-foot boards for the sides and cutting an 8-foot board in half to form two 4-foot ends.
Step Three: Assembling the Bed
Use your drill and screws to secure the lumber at the corners, utilizing the 4-x-4-inch lumber as braces.
Step Four: Adding Growing Medium
Lay six bags of wood chips in the bottom half of each raised bed, smoothing them out with the landscaping rake.
Finish by adding 20 bags of topsoil to fill the beds to the top. Keep in mind that the soil will settle over time, so you may need to add more before planting.

Sparkle Details =Dream Space
The last step is to add pieces that make your raised bed garden sparkle. Items like arches for growing vines, bistro lights, table and chairs are great things to add to really make the space inviting. All of this you can use for hosting guests, or for your own personal enjoyment.
By following these steps and using the materials mentioned above, you'll be well on your way to creating a beautiful and functional raised bed garden, just like the ones at our flower farm! As you tend to your flowers and watch them thrive, you'll appreciate the benefits of raised beds, from improved growing conditions to easier maintenance.
Whether you're an aspiring gardener, dahlia breeder or simply passionate about cultivating a beautiful flower garden, raised beds provide an excellent foundation for your gardening endeavors.
Happy growing!
XX Jenn and Adam

Spring Planning for the Flower Garden
Spring into action with our essential tips for a blooming flower garden! From choosing the right plants to easy-to-grow flowers, soil preparation, and smart watering, we've got you covered. Learn the art of deadheading, protect your garden from pests, and make the most of the spring sunshine. Follow these tips for a beautiful and thriving flower garden that will be the envy of your neighborhood. For more inspiration, check out our guest features on MarthaStewart.com and join us on Instagram and Facebook @pepperharrow_. Happy gardening!
Spring is the perfect time to start thinking about your flower garden. Whether you're an experienced gardener or just starting out, there are a few tips and tricks that can help ensure a successful, beautiful display, full of blooms all growing season long. Here are some spring flower garden tips to help you get started with a beautiful flower garden:
Choose the Right Plants: When selecting plants for your garden, it's important to choose ones that are well-suited for your climate and soil type. You can consult with your local nursery or gardening center for recommendations on plants that thrive in your area. Check out our flower, shrub, tree, and ground cover suggestions for each growing zone in our guest contribution for MarthaStewart.com. You can access it here!
Choose Easy to Grow Flowers: We love growing easy to grow flowers, because they give us high impact color and blooms for very little effort. These are also great to look at when you first start a grade, because they’ll help you to build confidence as you grow! Here’s some great ideas via our guest feature in MarthaStewart.com for 12 Easy Annuals for Beginner Gardeners.
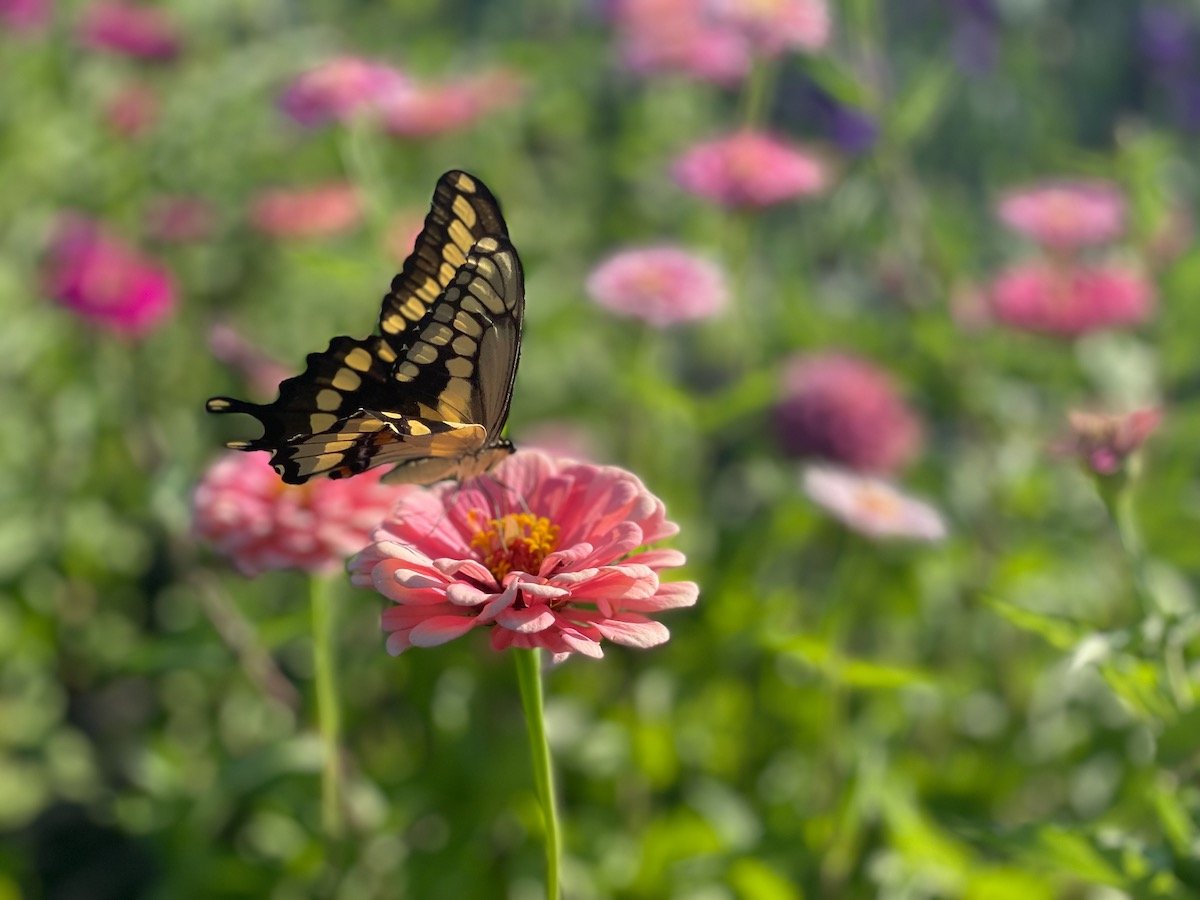
Zinnias are Easy to Grow Flowers & attract butterflies at PepperHarrow Flower Farm
Prepare the Soil: Before planting, make sure to prepare the soil by adding compost or other organic matter to improve its texture and nutrient content. This will help your plants grow strong and healthy.
Water Wisely: It's important to water your plants regularly, but be careful not to overwater them. Too much water can lead to root rot and other issues. Check the soil moisture regularly and water as needed.
Provide Enough Sunlight: Most flowering plants require plenty of sunlight to thrive. Make sure to choose a spot in your garden that gets plenty of sunlight throughout the day. We recommend at least 6 hours of sun each day for a plant that requires full sun, part sun or also shade. For shade plants, they just really don’t like a lot of intense sun, dappled is best!

Deadhead Regularly: To encourage your plants to produce more blooms, it's important to deadhead them regularly. This involves removing spent flowers from the plant to promote new growth.
Protect from Pests: Unfortunately, pests and insects can be a problem in any garden. To protect your plants, consider using natural remedies like neem oil or companion planting with herbs like basil and mint, which can repel pests.
We hope these tips help you create a beautiful and thriving spring flower garden! If you need more flower garden inspiration, follow along with us on Instagram via pepperharrow_ or on Facebook: PepperHarrow. And let us know if you have any questions, by commenting below!
XX Jenn and Adam

The GREAT Tulip Harvest of 2023
The Great Tulip Harvest of 2023 at PepperHarrow Flower Farm is a triumph! From our indoor pop-up to the you-cut tulip bouquet experience, we've shared the joy of vibrant tulips with our community. Grateful for the support, we're excited for an even more spectacular season next year. Find these cheerful blooms at Des Moines Mercantile, Gateway Market, and the Downtown Farmer's Market!
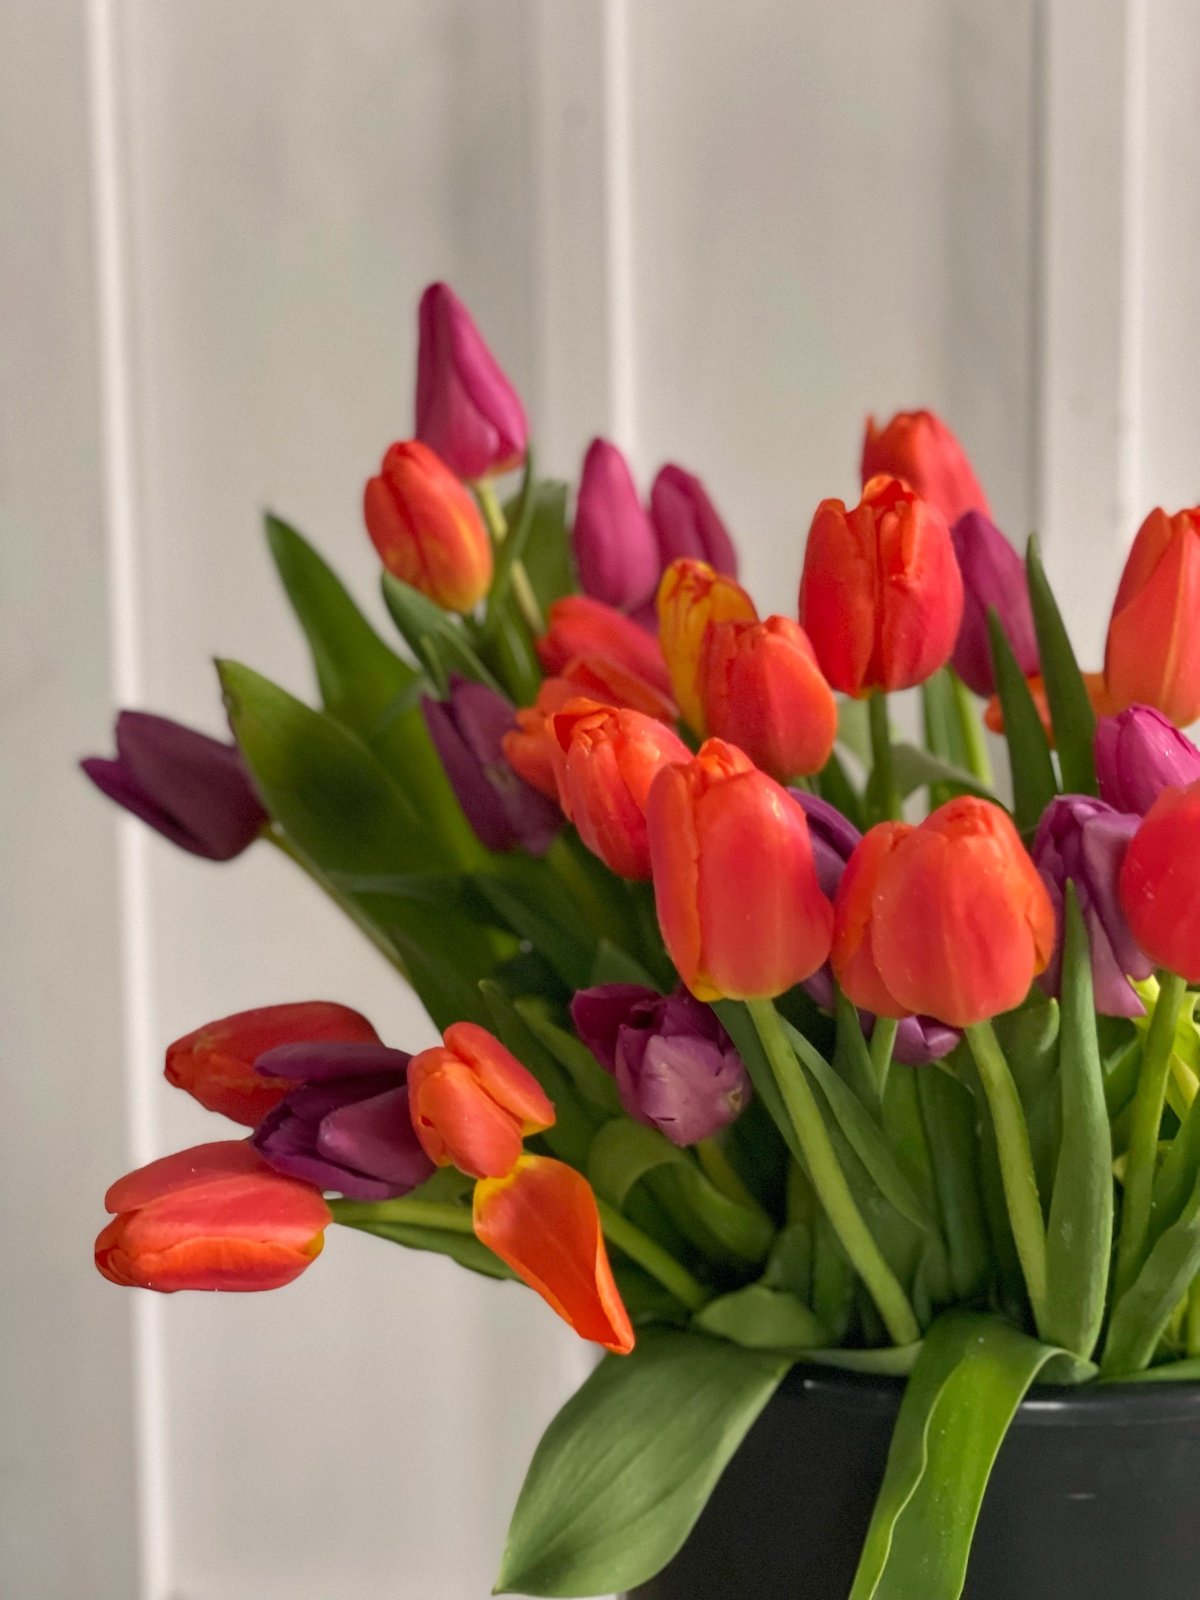
The Great Tulip Harvest of 2023 at PepperHarrow Flower Farm is sure to go down in history as a remarkable achievement for our team. This year's harvest has been outstanding, with a bountiful crop of vibrant tulips that have delighted the senses and brought joy to all who have had the pleasure of experiencing them.
Growing in our indoor growing space, forcing our tulips through the coldest months, we took our first harvest of tulips for a special pop-up at Des Moines Mercantile at the beginning of April. It was amazing, and we were so humbled, to see the amount of local support for our local flower farm and small business! People came out in force to grab a tulip bouquet to add a sprinkle of joy to their day!
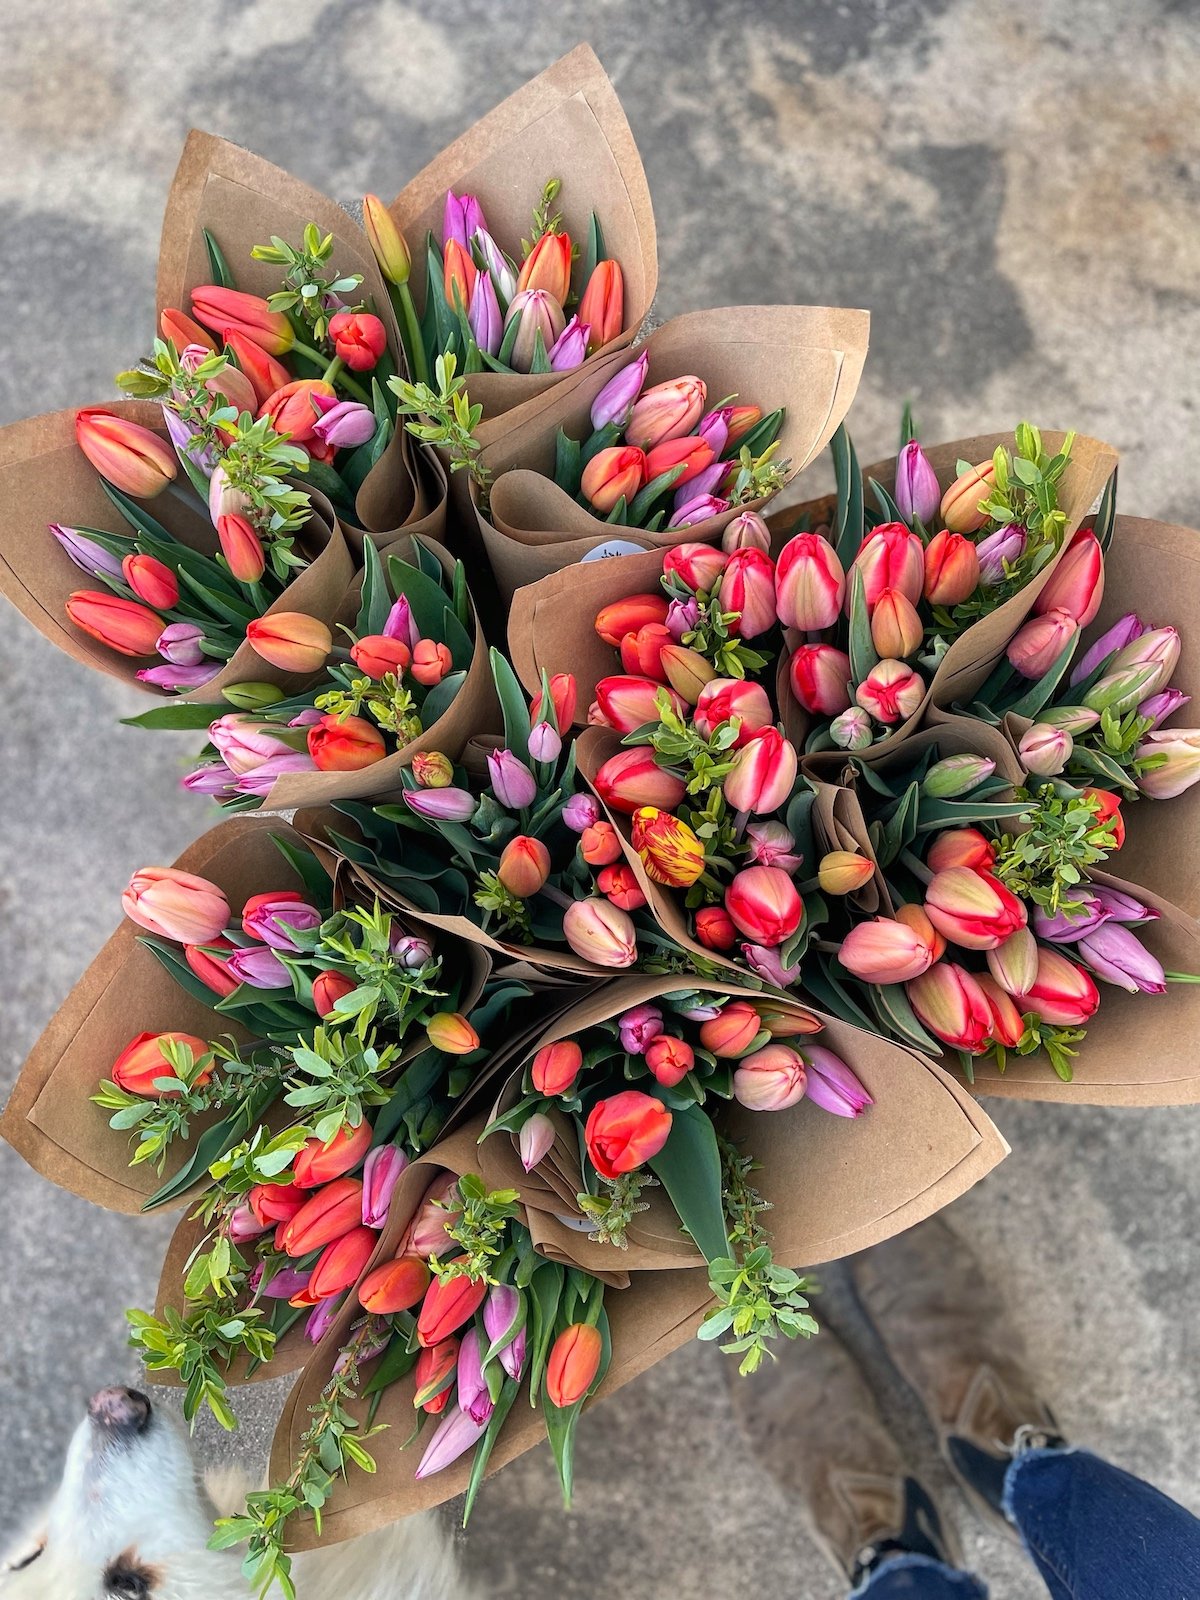
Below is a photo of how the bouquets turned out. We added a few sprigs of willow, which gave them an even prettier look. They sold out the quickest!

tulip Bouquets for pop-up at DSM Mercantile
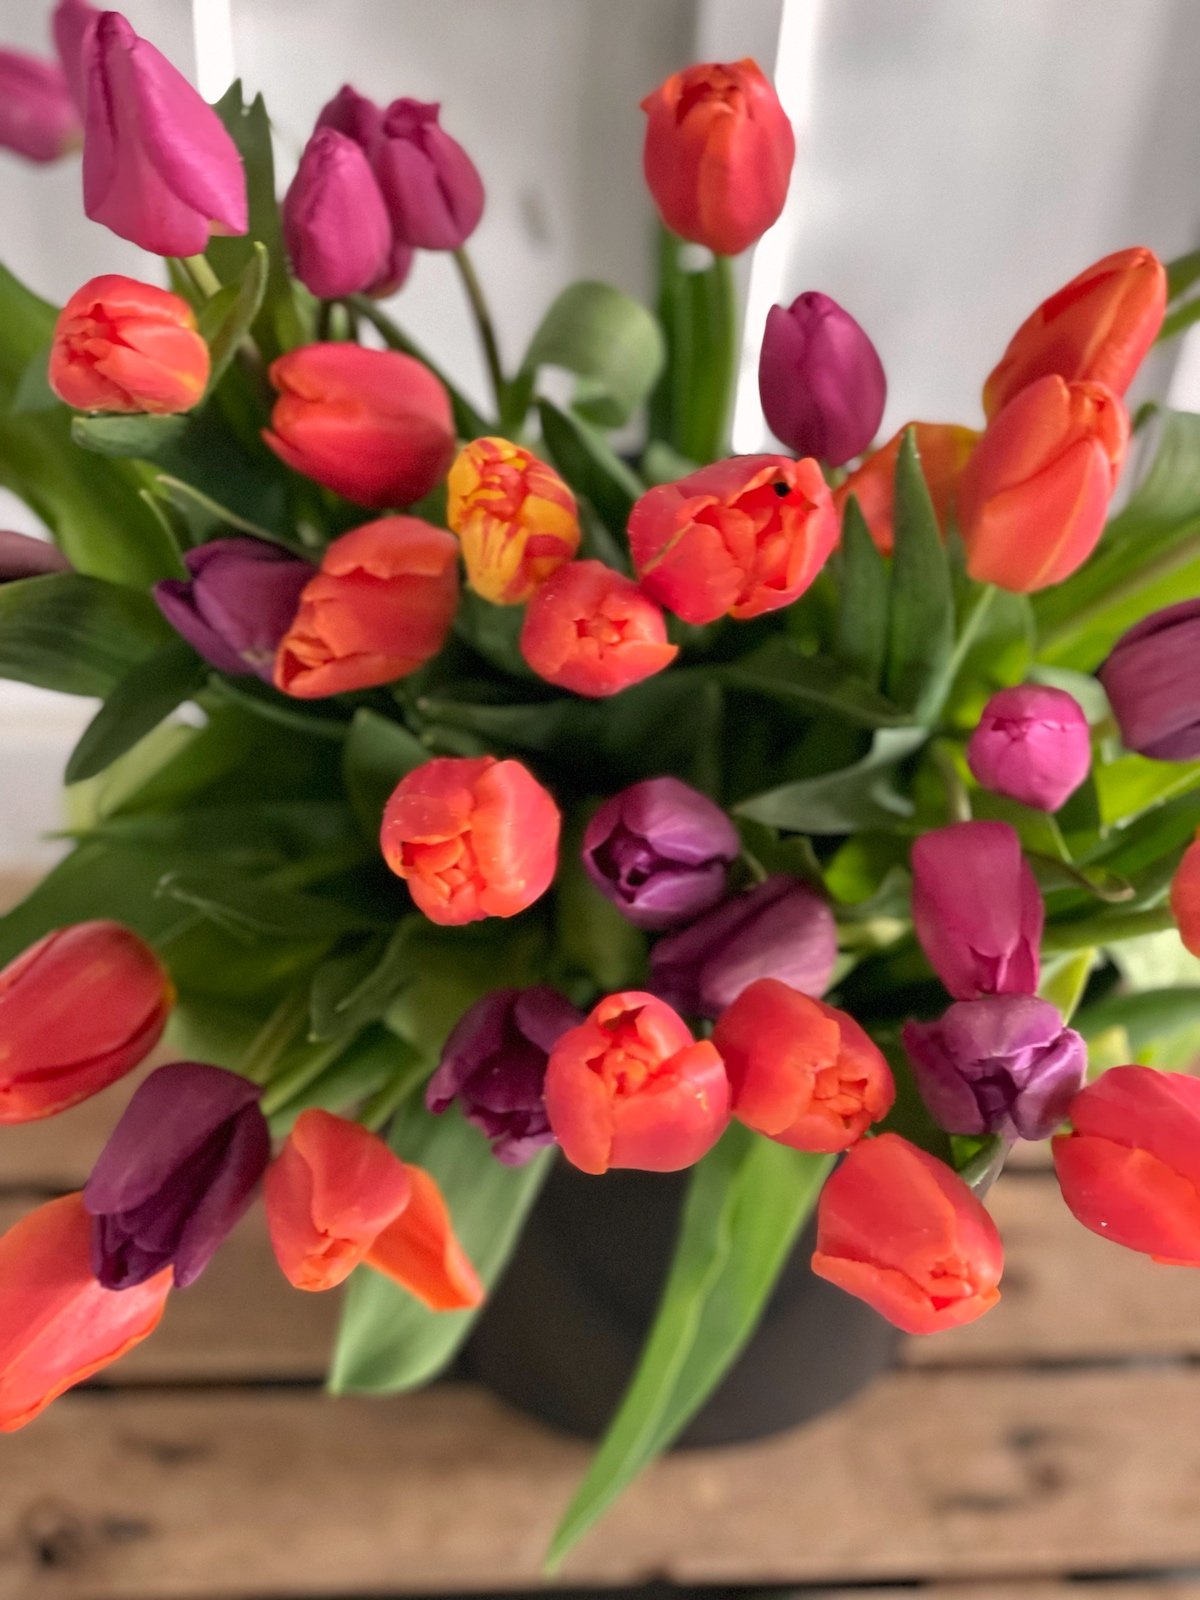
Right behind out indoor grown tulips, the field grown tulips were ready about two weeks later. They ended up blooming about a week and a half earlier than we expected, because we had a few days in the 80’s (F). Way too warm for this time of year and it made them grow a little more quickly than they normally would have
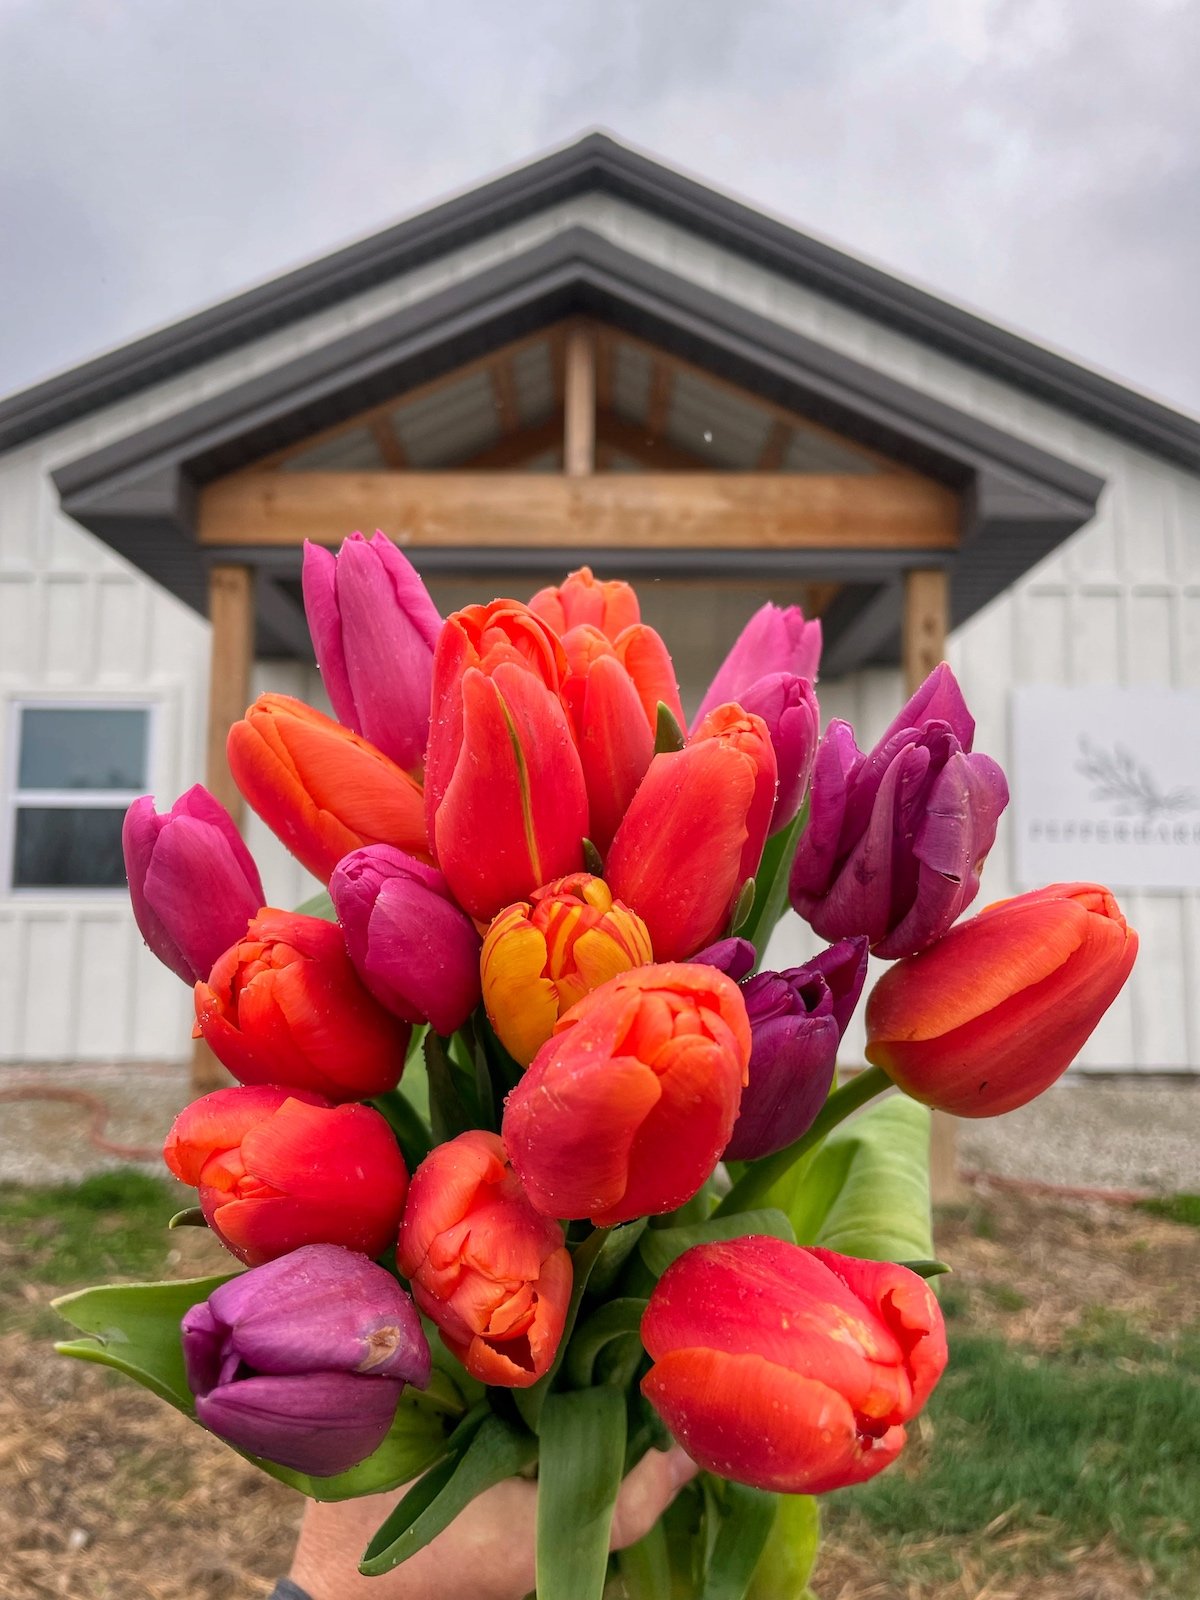
Once we saw that a few of them were starting to show what we call ‘color crack’, we knew it was time to open our you-cut tulip bouquet experience to the public. It’s a popular on farm experience we get to offer in the spring for people to come out and pick their own tulip bouquet. As an extra benefit, we give them the option to take the bulbs home with them to plant as well. Everyone has an absolute blast!
We welcomed each guest and gave them the run down of how they can harvest tulips. Everyone loved idea of simply pulling them from the ground bulb and all, a fan favorite! There’s something pretty enjoyable about pulling tulips from the lose ground bulb and all!

Field grown tulips at pepperharrow flower farm for you-cut tulip bouquet experience
Once the you-cut tulip bouquet experience was over, we knew it was time to get ALL of the tulips out of the flower field as quickly as possible. The deer pressure is so incredible, we knew we couldn’t leave an ‘all you can eat skittle buffet’ for them. Lol!
When we were within an hour of our last guest arriving, we started pulling all of the tulips from the ground as quickly as possible. Two people = 2,000+ bulbs = 5 tractor loads of tulips into our cooler to give them nice chill time until we sell them in bouquets, which should happen over the next 2-3 weeks. It. Was. Incredible.
We stopped for a few minutes for Adam to capture this remarkable sight of one of our many tractor bucket harvests of tulips. It was a pretty cold night, but the sun was out and the sky looked incredible as the picture was being taken.

Tractor full of tulips harvested over the weekend
You can find these cheery, bold colors over the next few weeks at small retail shops of Des Moines Mercantile, Gateway Market, and for our appearance at the Des Moines’ Downtown Farmer’s Market over the next few weeks.
Reflecting on the Great Tulip Harvest of 2023, we’re left with a sense of pride and accomplishment. We’ve worked tirelessly to bring these beautiful flowers to life, and their hard work had paid off in spades.
For us, the success of this year's harvest was a testament to our love of tulips and our commitment to growing them. We are grateful to our customers for their support and appreciation of the farm's efforts.
Looking ahead to next year's harvest, the team at Pepperharrow Flower Farm is already planning and preparing for what promises to be another spectacular season. We are committed to continuing our tradition of excellence and to bringing the beauty and joy of tulips to as many people as possible.
Happy Growing!
XX Jenn and Adam